
In this post we’re going to have different sections, in the first one, as in all beginner courses, we’re going to define Spring, learn how to create a project with Spring Boot and learn what the meaning of the basic class which Spring gives you when you start a project is.
What’s Spring? #
If you stop someone on the street and ask them about it, they are going to tell you that Spring is a season of the year, but that’s not the meaning that we want. Spring in IT is an open source framework for Java Platforms which was created by Roderick “Rod” Johnson. This framework is lightweight because it has a modular philosophy, I mean if you have a base and you add the different modules when you need them or when the application is getting bigger. This framework is really popular because of it’s simplicity, loose coupling and testability.
Inside this framework we can find Spring Boot. If we go to the website and we read the summary of Spring Boot which is ‘Spring Boot makes it easy to create stand-alone, production-grade Spring based Applications that you can “just run”‘. It think it’s a really good explication.
How to create a project #
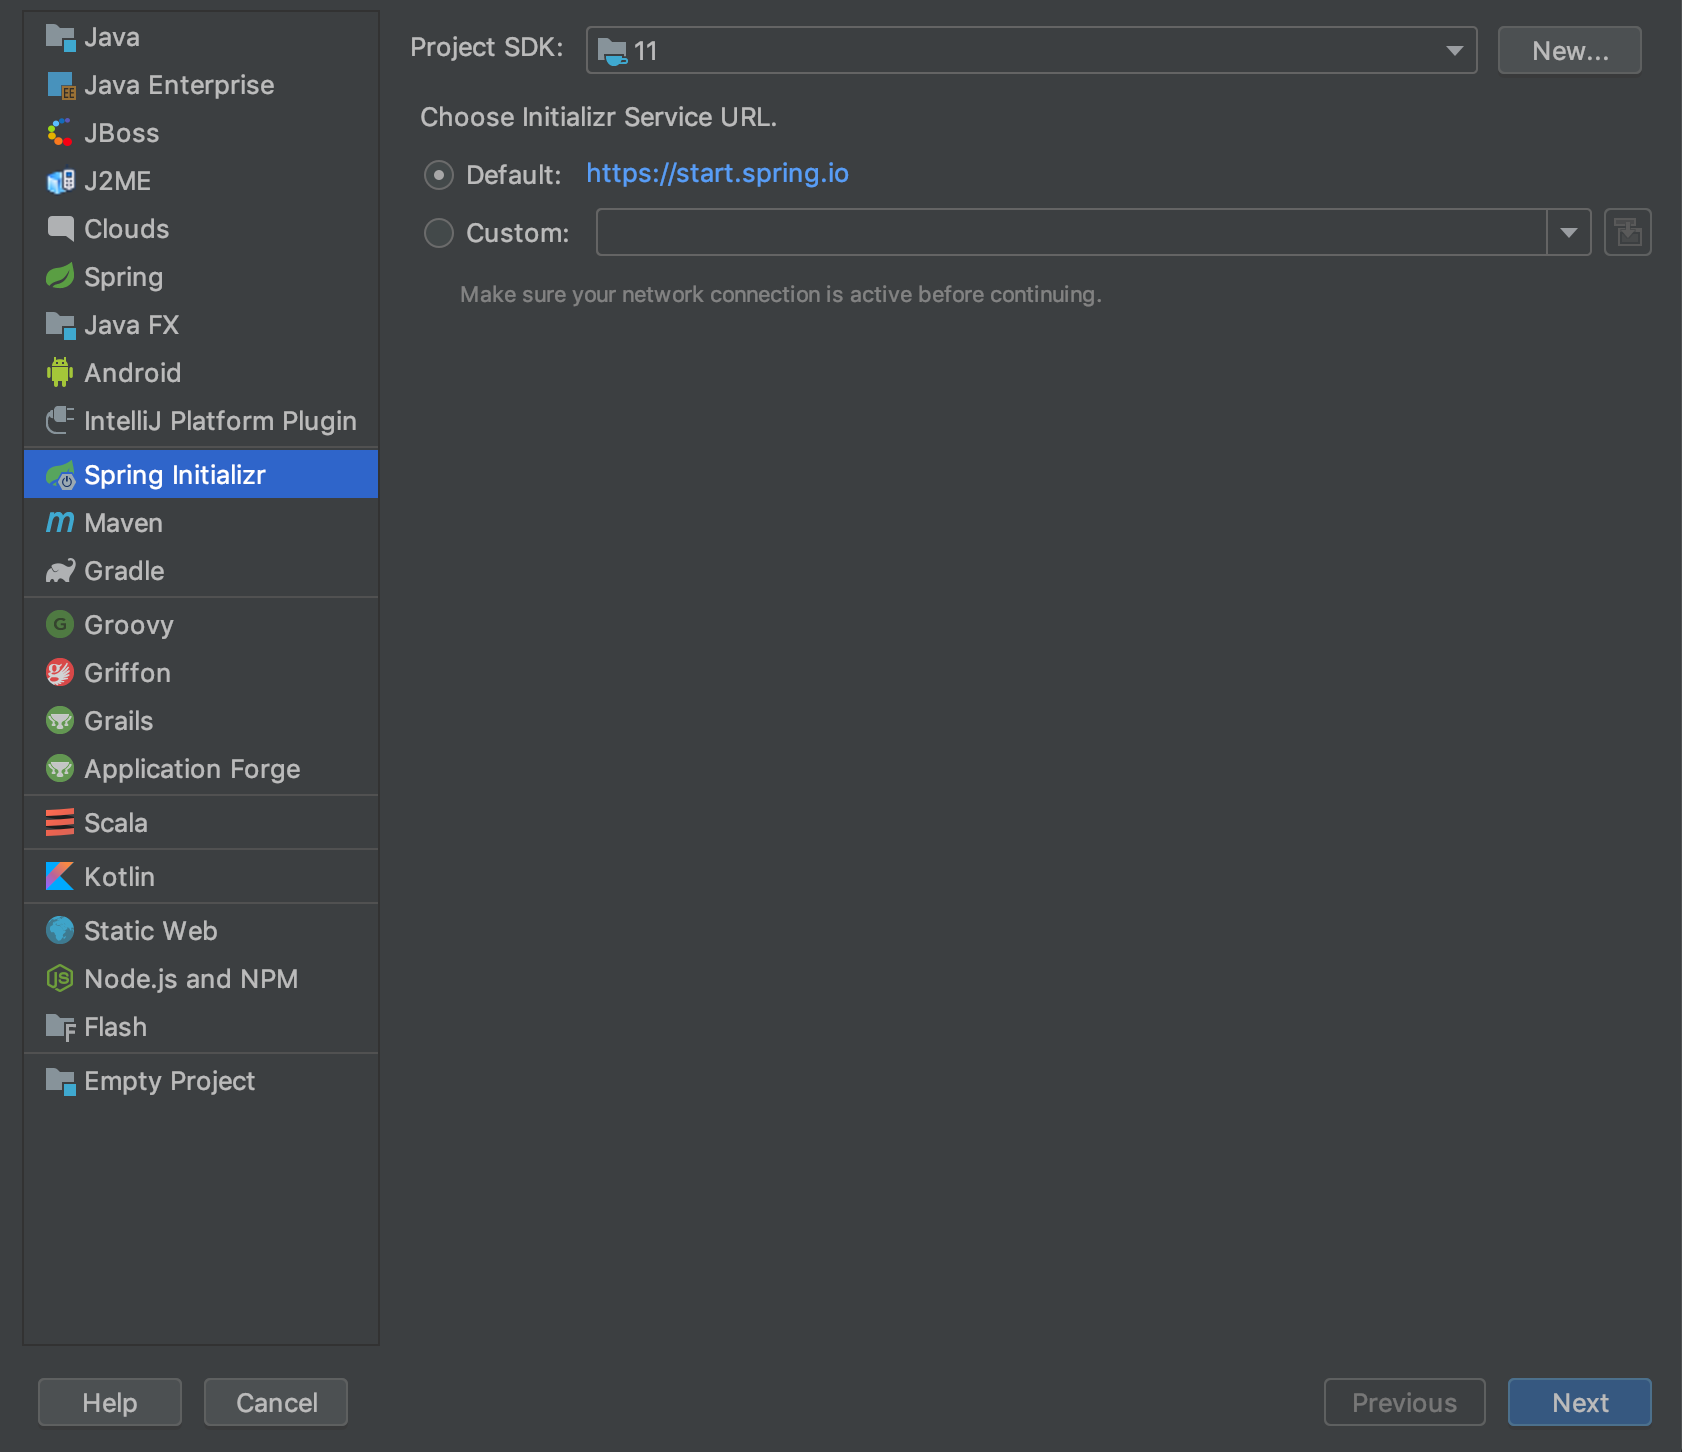
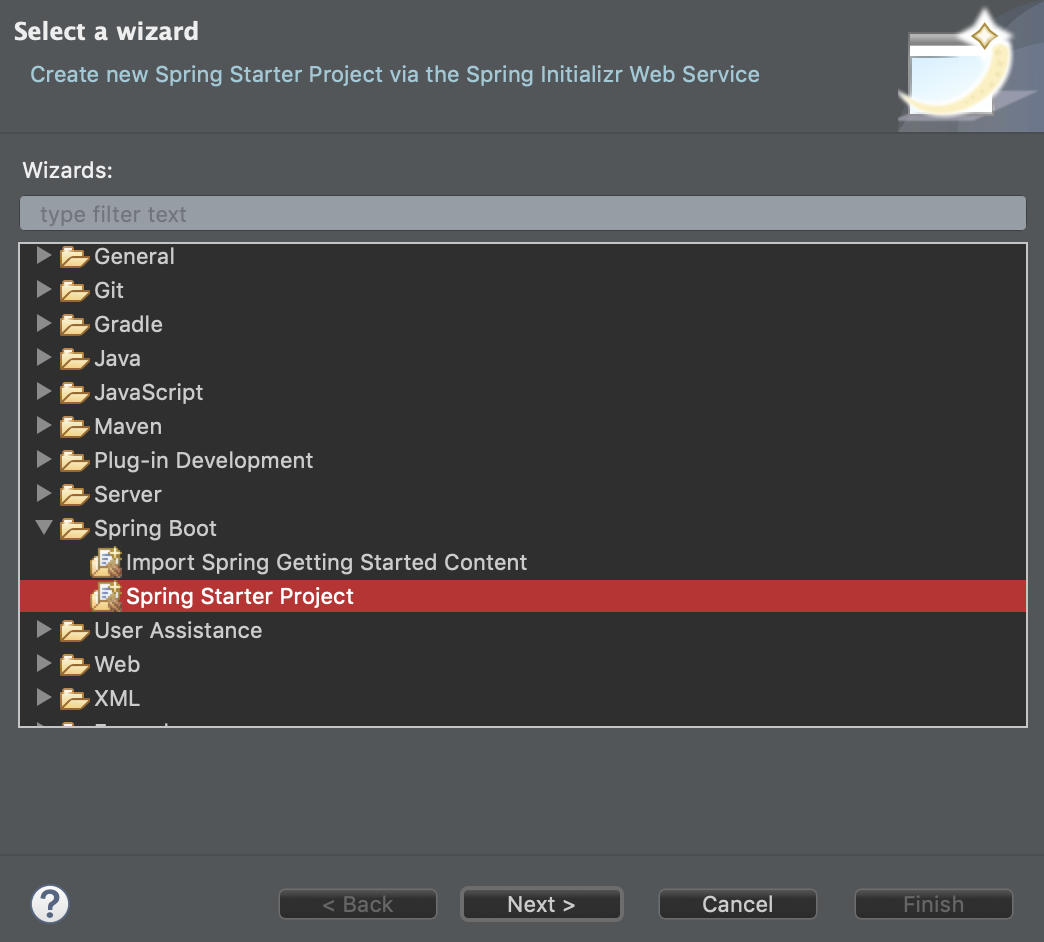
Well this is the easier thing which you are going to learn about Spring. I don’t know which IDE you’re using but I use IntelliJ IDEA or Eclipse with the Spring Tools and both of them has the initialiser option, but if you’re using another one you can go to the initialiser of Spring WebSite. If you have the initialiser in your IDE just go to “Create a New Project”.
IntelliJ IDEA #
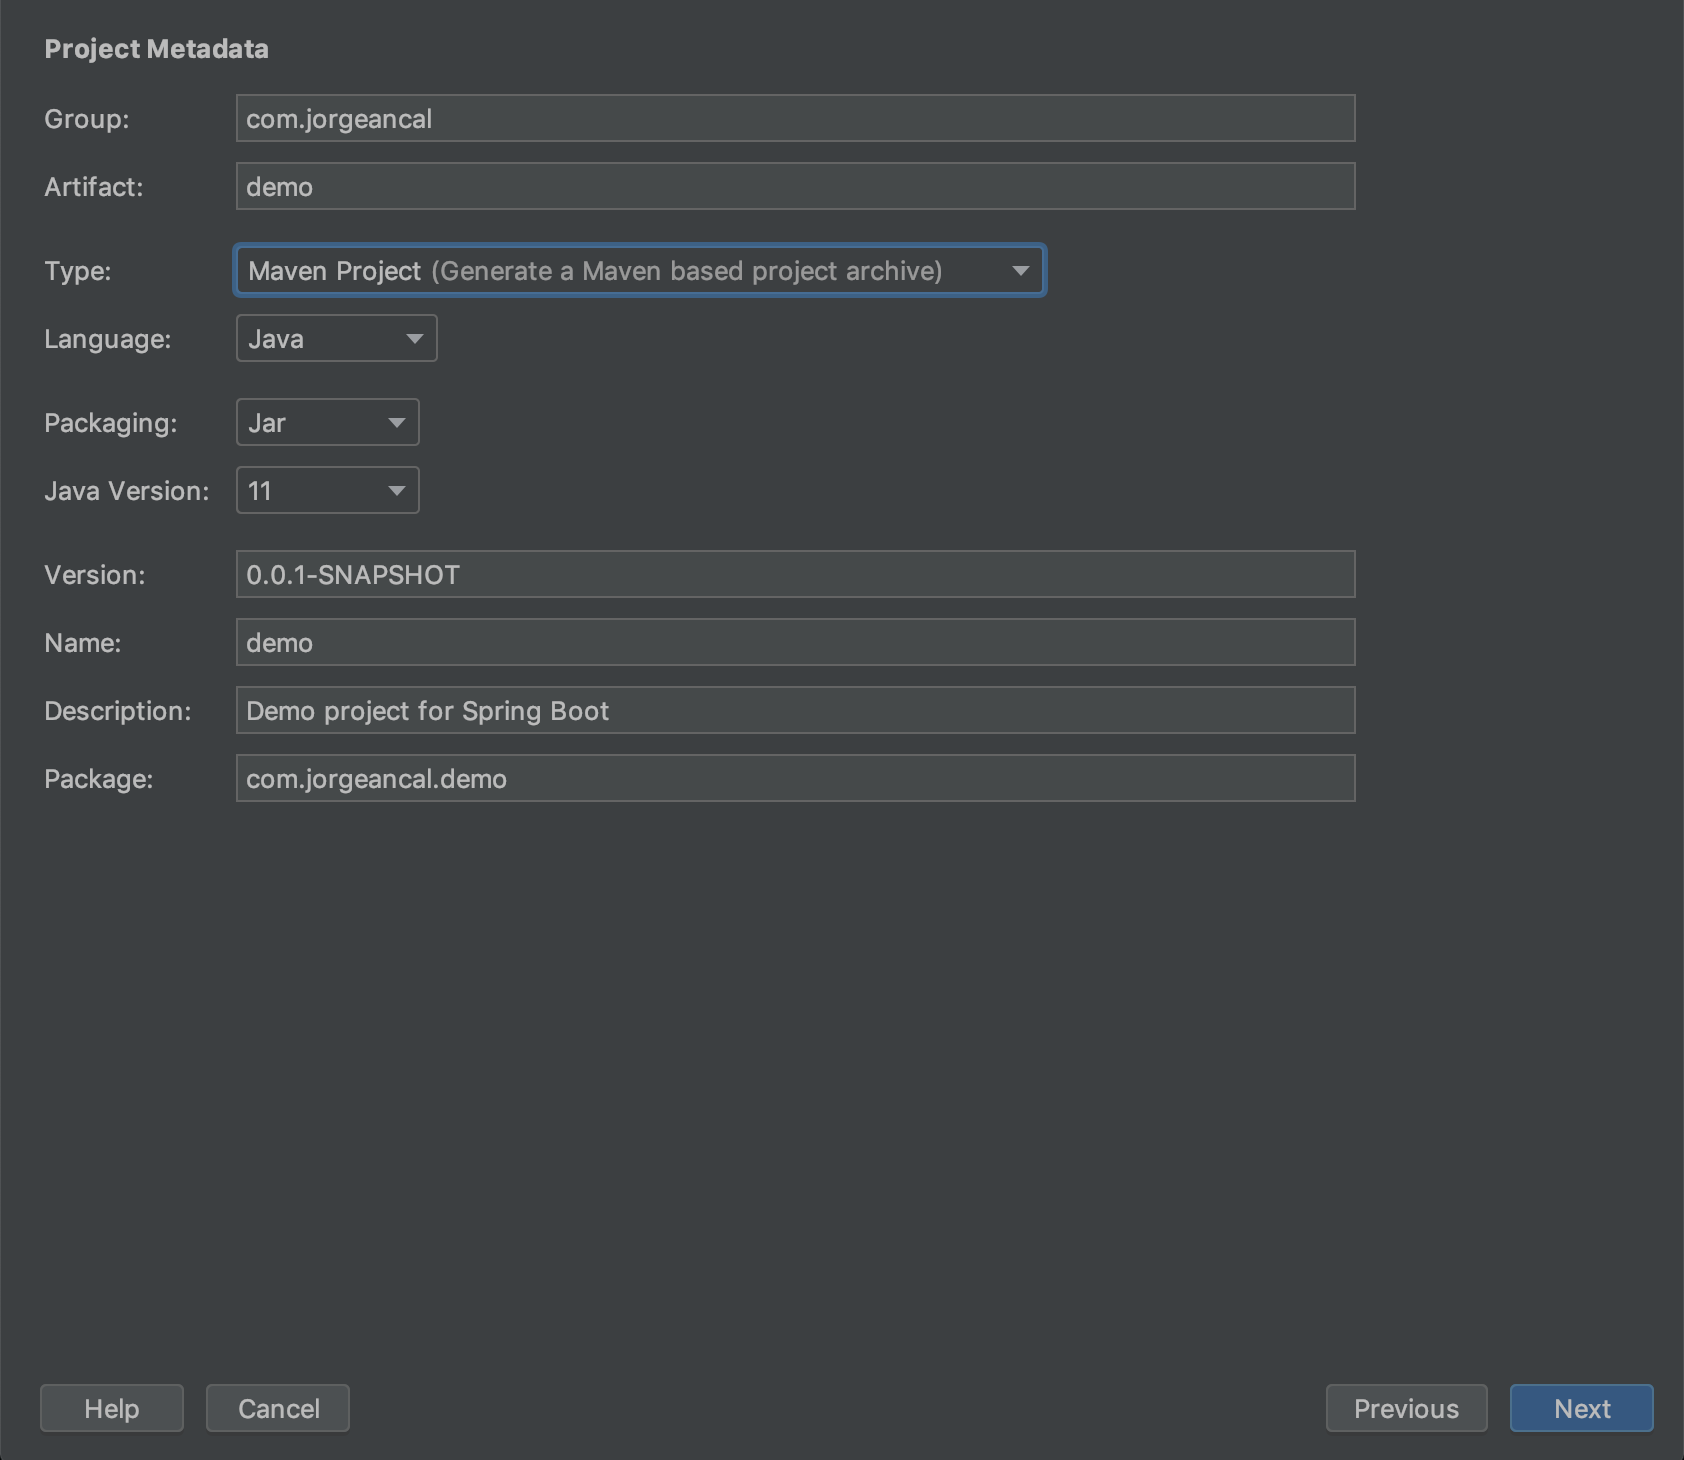
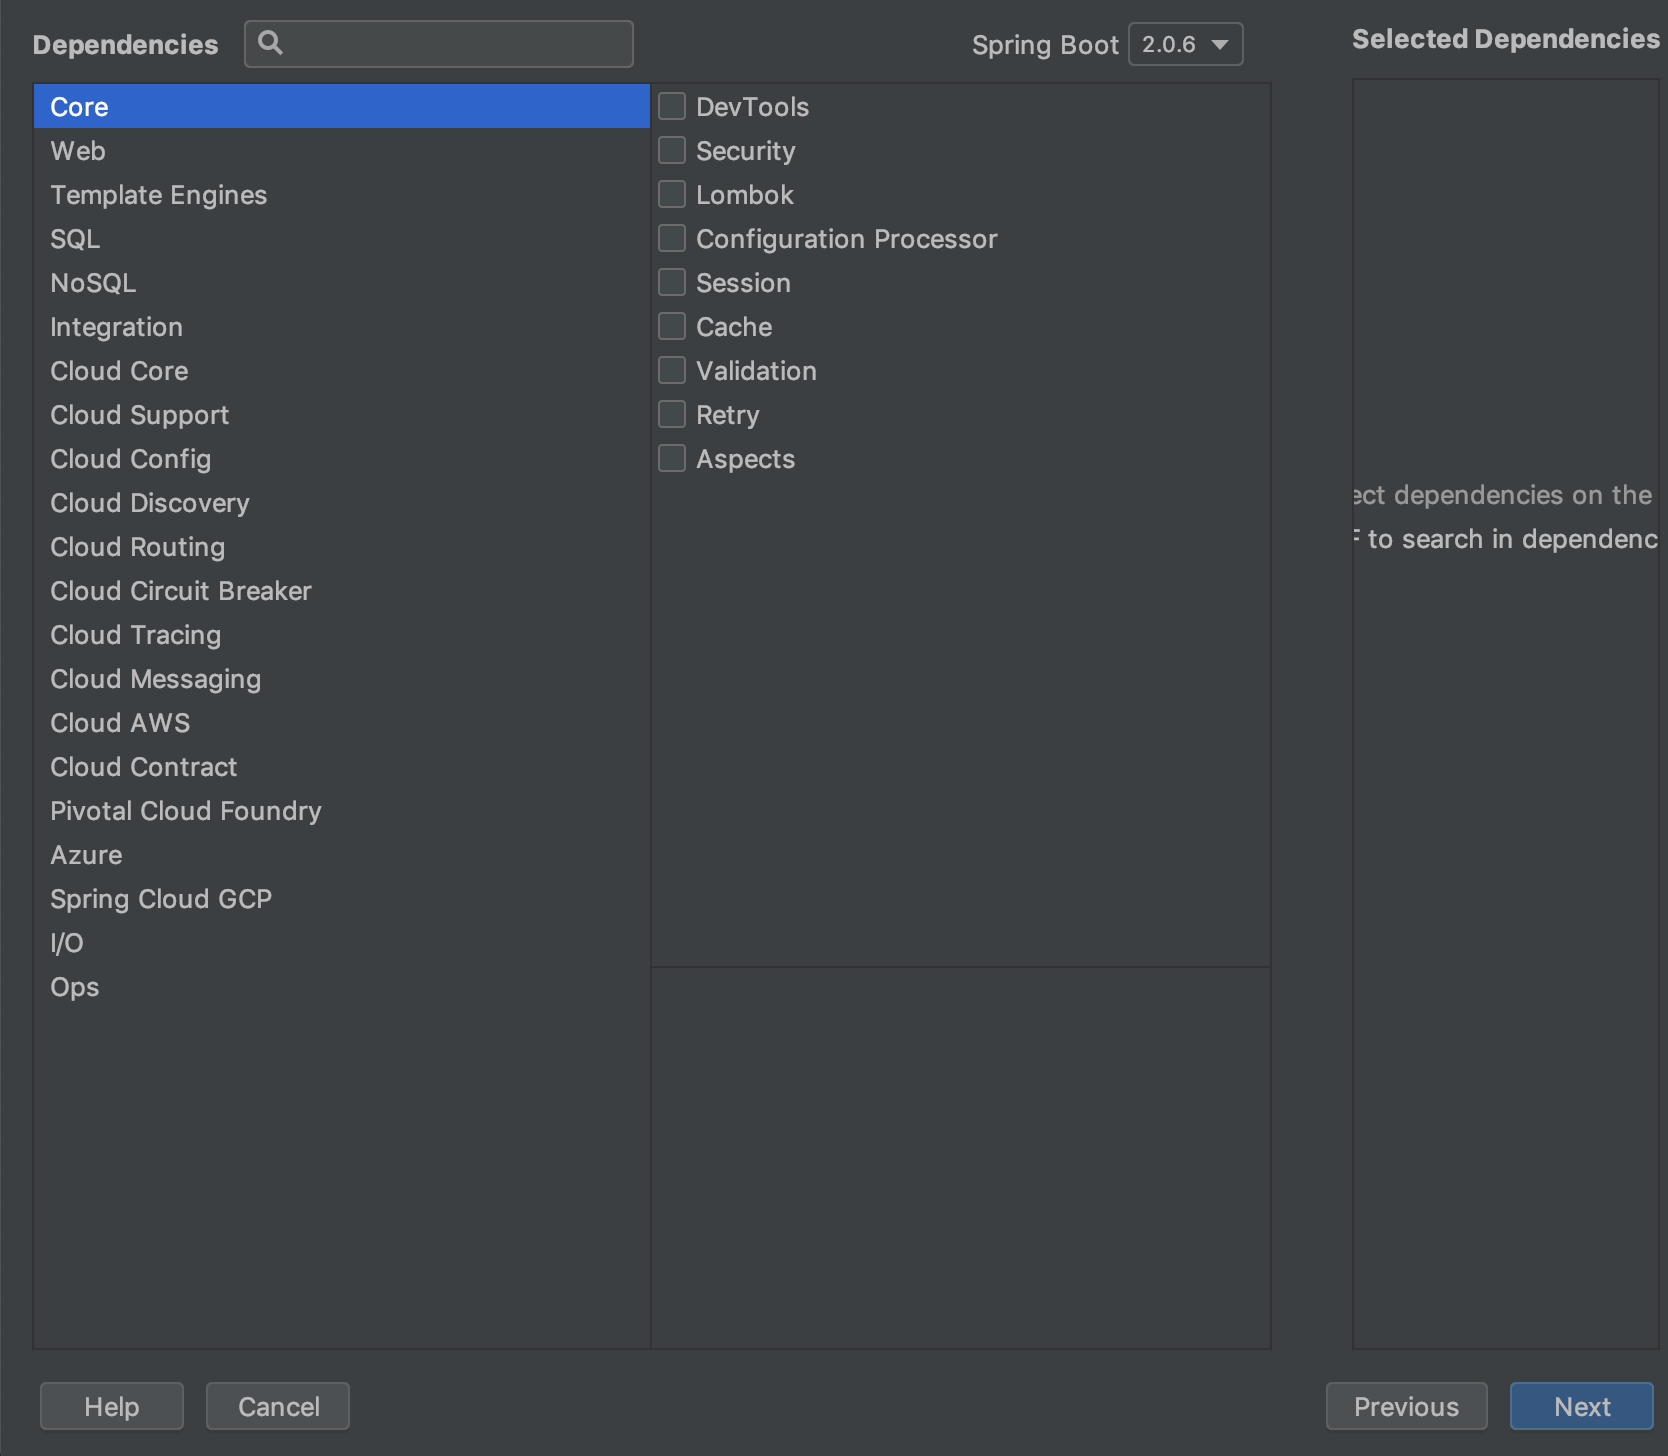
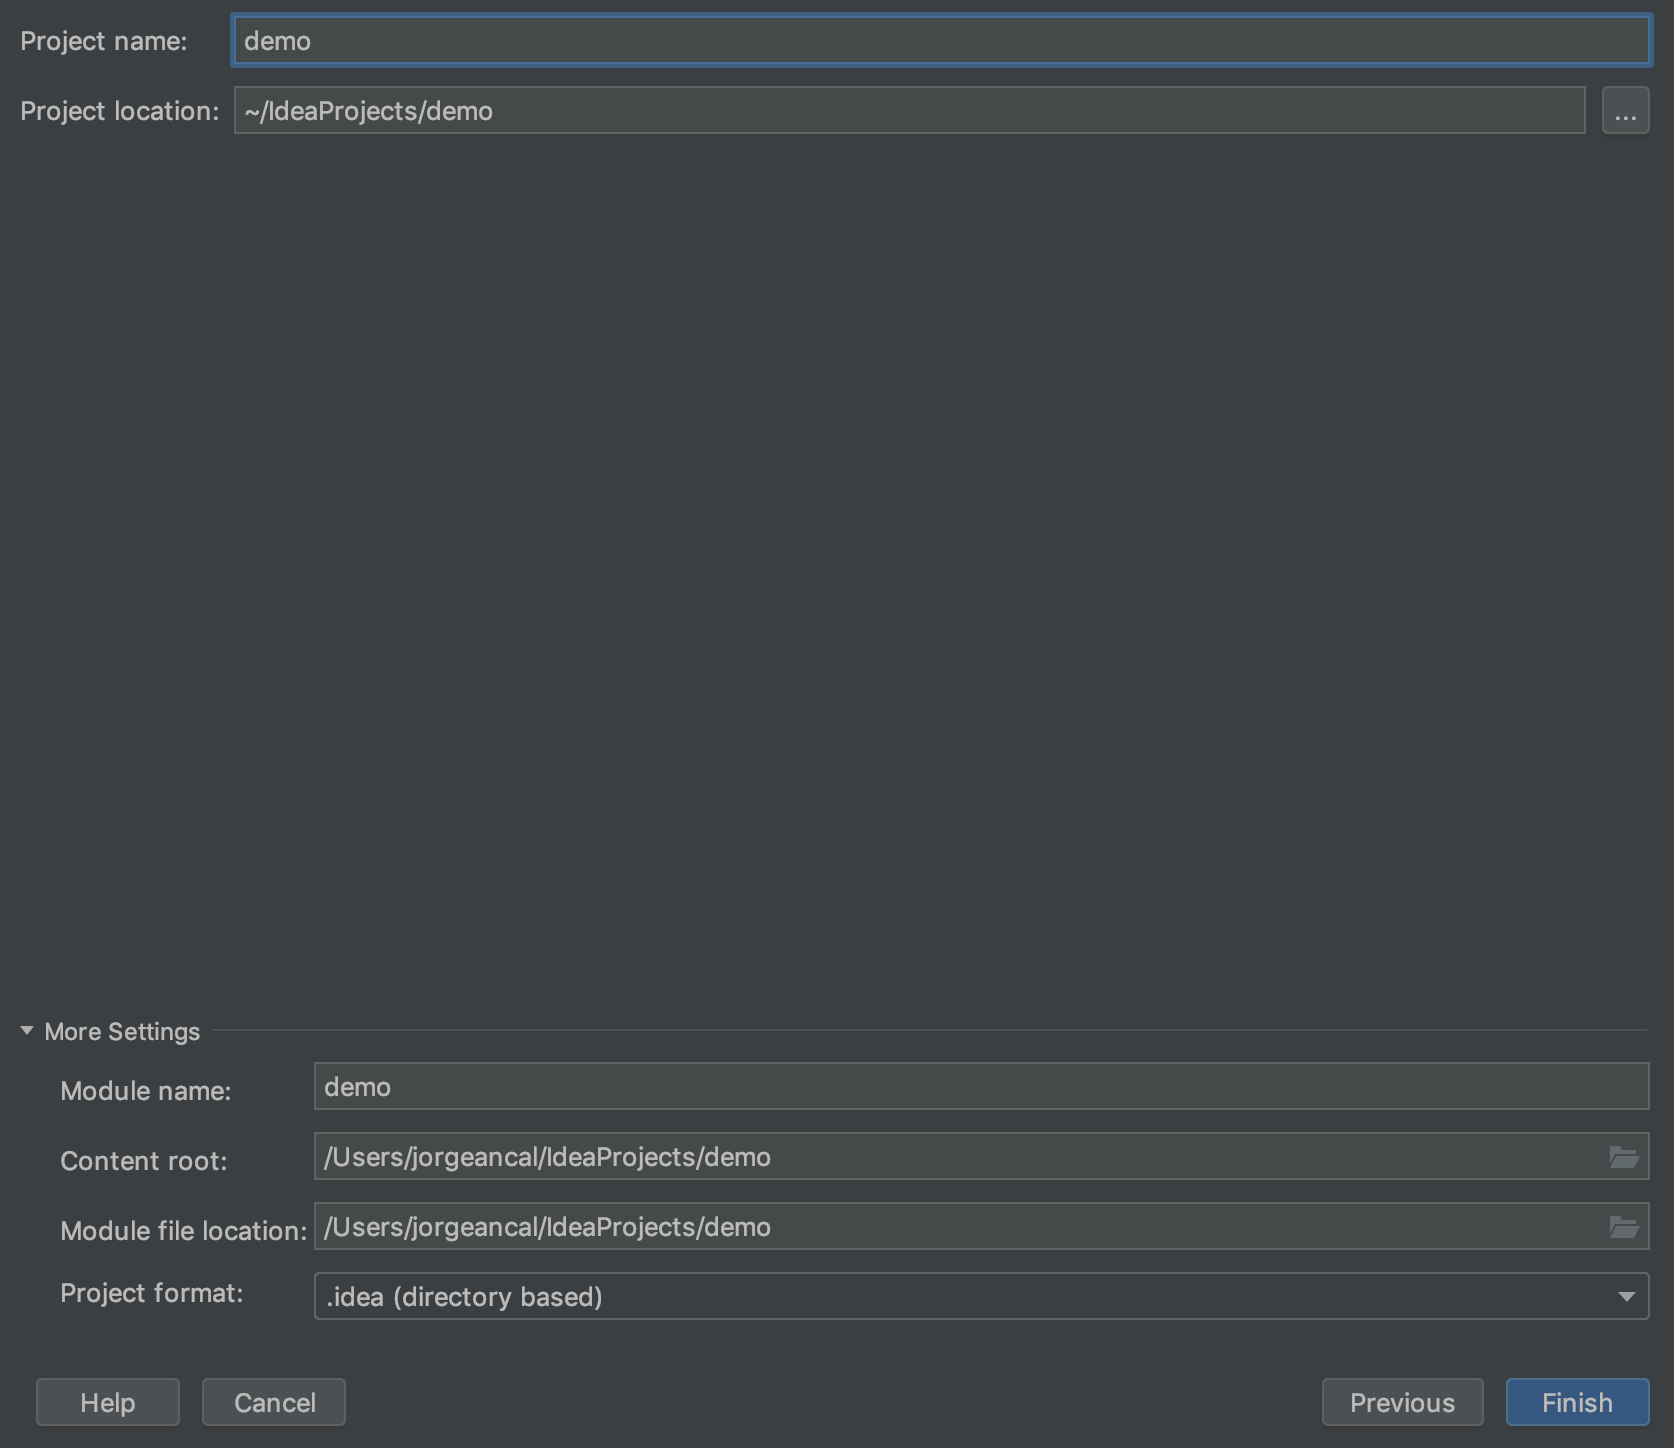
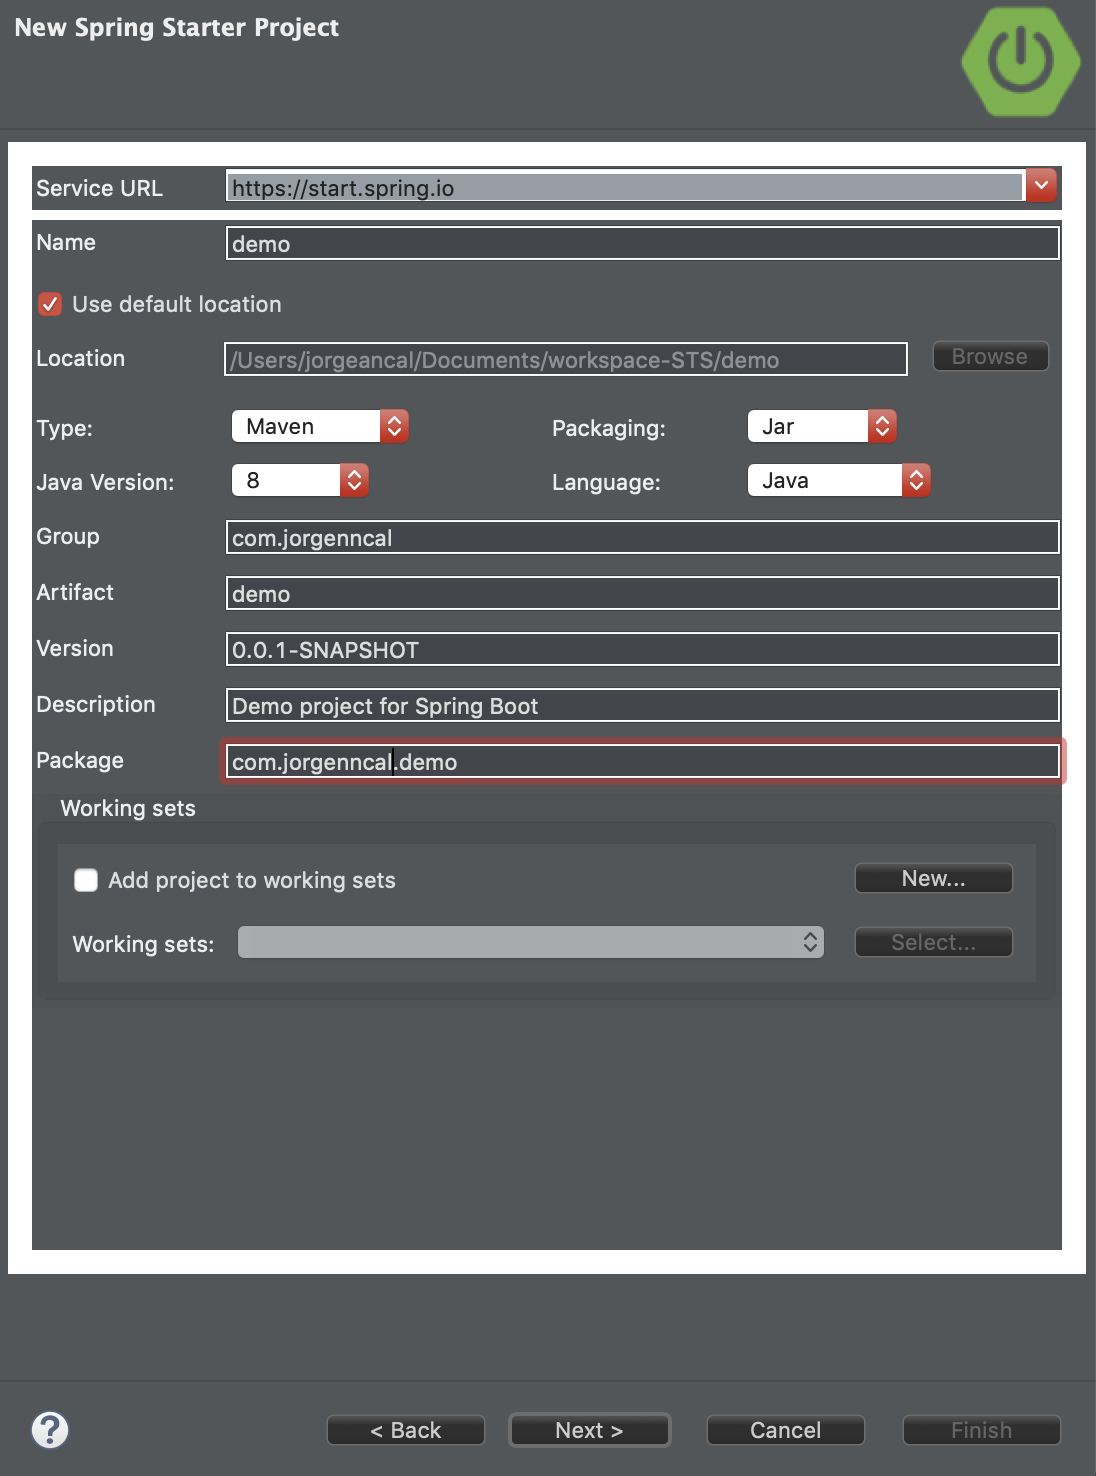
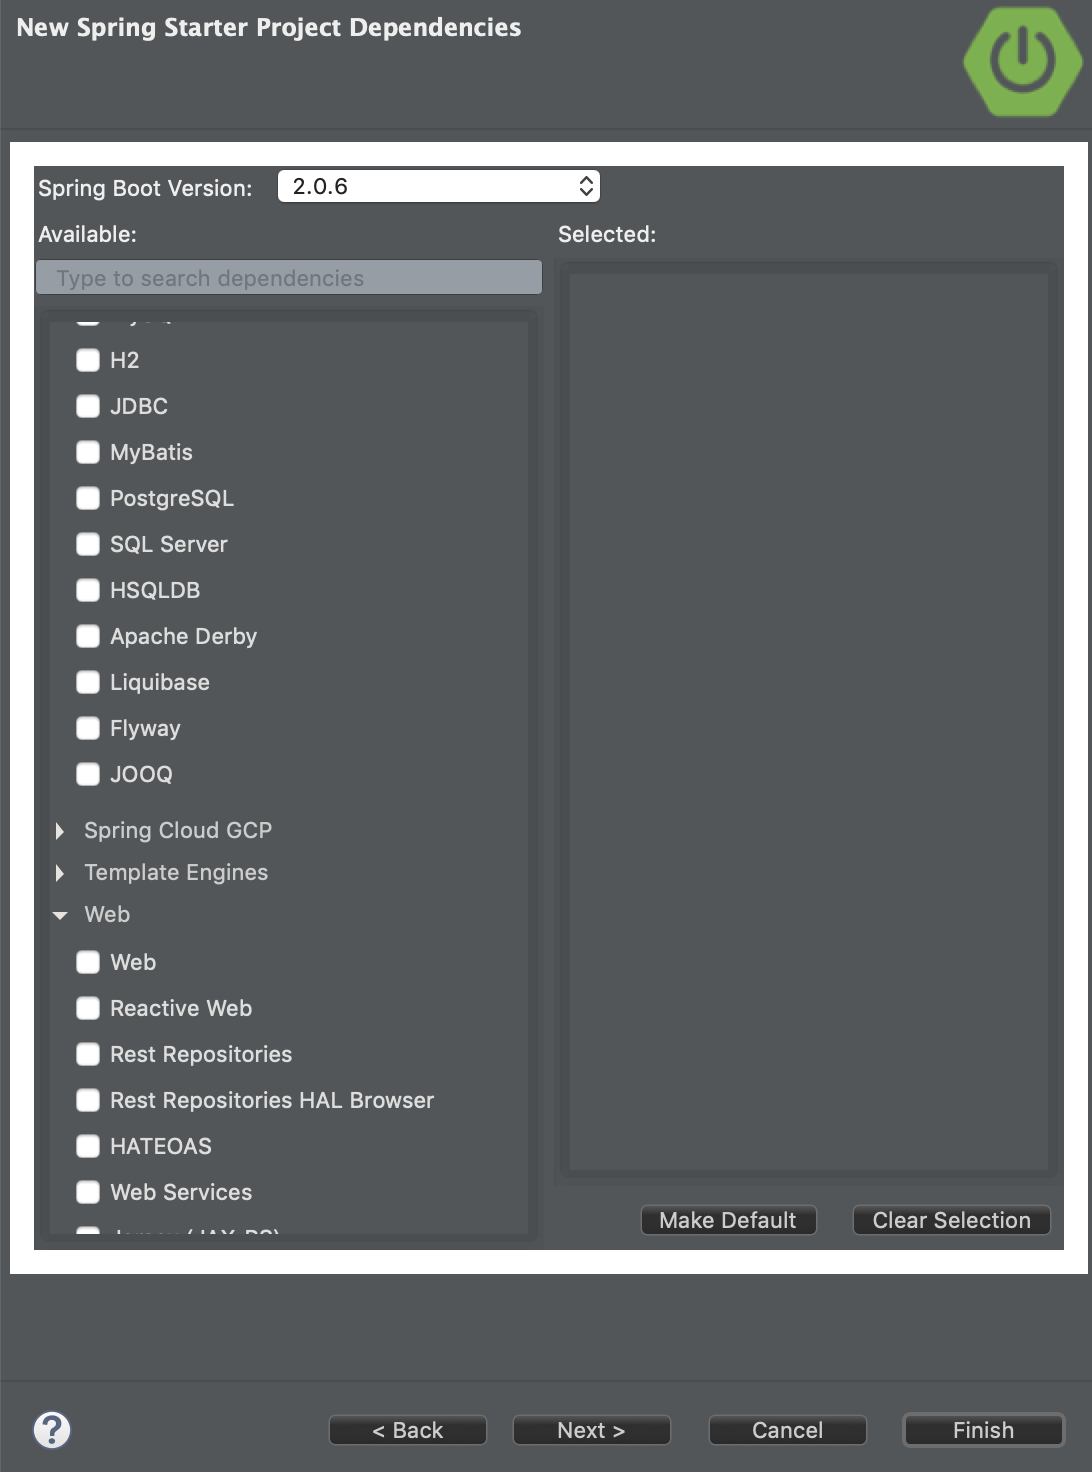
After creating a new project, you have to select the “Spring Initializr” option and click “next”, after that you need to fill in the form data and click “next” again. Now you’ll have a list with all the different Spring modules which you can add to your project, here I have to add that I usually use the Lombok dependency because with it I can get shorter classes, I’ll do another post talking about that. After selecting all the modules which we need, click on “next”. Now give it a name and click “Finish”. That’s all, it’s easy isn’t it? I uploaded a few pictures of the whole process here.
STS #
It’s really similar to IntelliJ. I’ll give you a few pictures showing you how to do it. The difference is in the second one, you can choose more things and give it a name in the same step which is more useful than IntelliJ, I think.
What Do We Have In The Project? #
When you open the project you have three files as you can see in the next image:
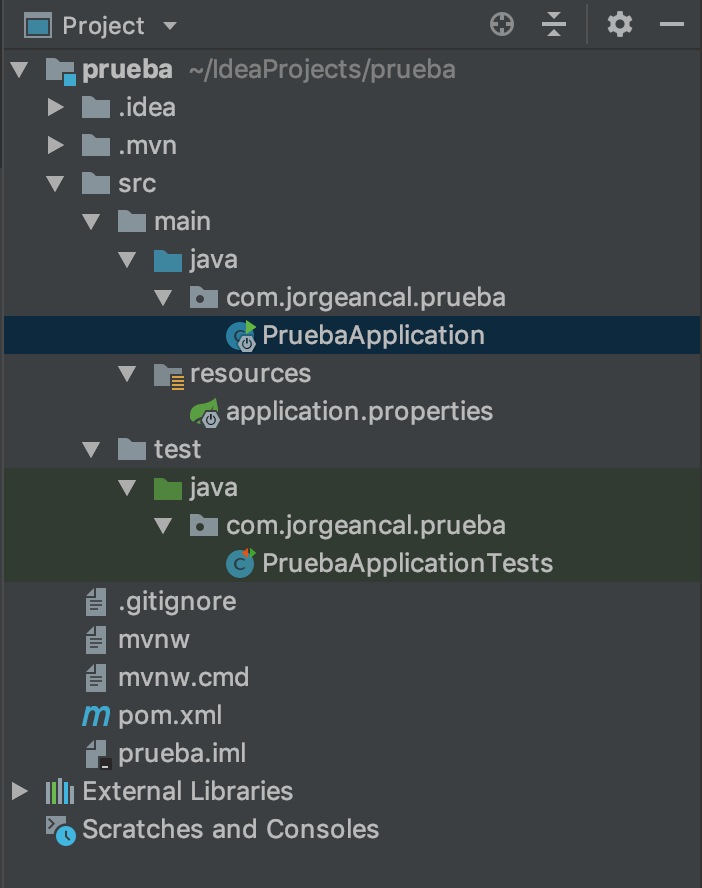
- The file “PruebaApplciation” is the main class, without it you don’t have a Spring Boot project unless you create one with the same content and a different name. If you open the file you’re going to see something like this:
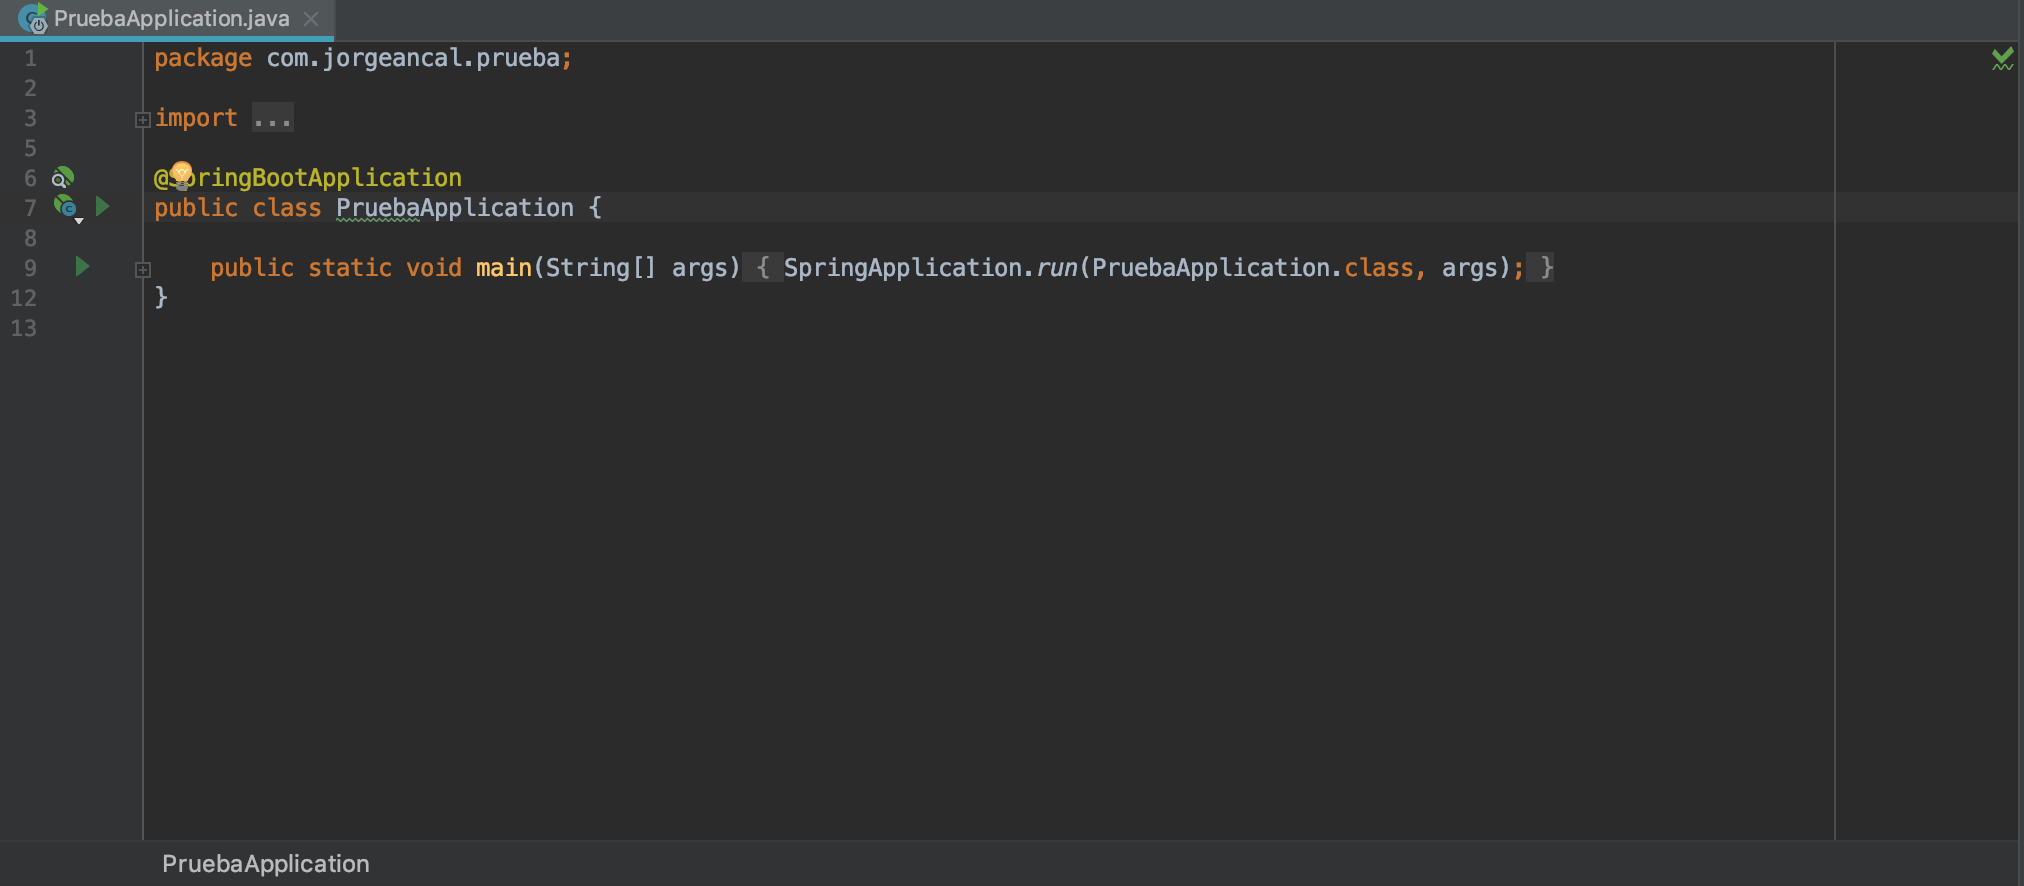
If you look at this, it’s like a normal class when you start studying Java, the only difference is the annotation @SpringBootApplication. This annotation is the equivalent of three which are:
@EnableAutoConfigurationenables Spring Boot’s auto-configuration mechanism@ComponentScanenables@Componentscan on the package where the application is located (see the best practices)@Configurationallows to register extra beans in the context or import additional configuration classes
I mean you can use just the annotation which Spring Boot gives you or just change it for these three ones.
- The file “application.properties” is the configuration file. I mean, in this document you can set the data which you need for the Data Base Connection and a lot more things. As you can see, it’s totally empty.
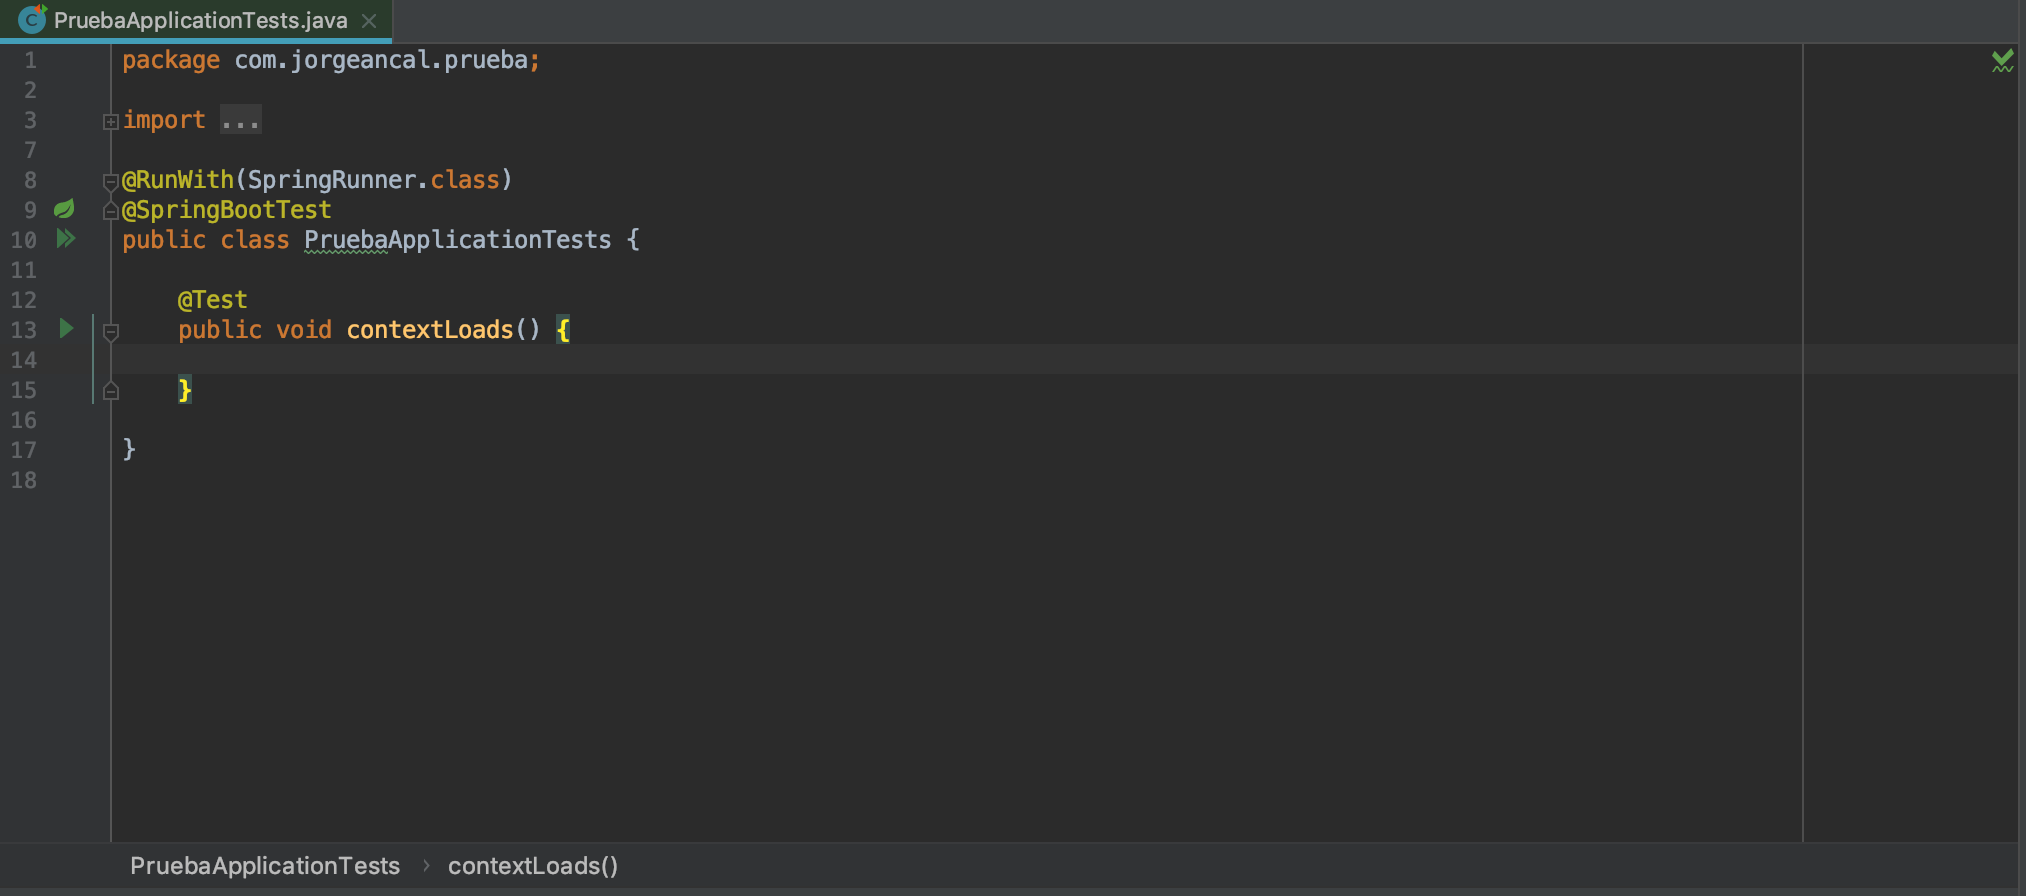
- The file “PruebaApplicationTests” is the test file. It’s something that you have and you must use it. A lot of people tell you we want an expert in tests, and later you’re not going to use it, but you must know what you have to do with it. I use it in my applications but I have been in five projects and I have only used tests in one. We only used them in the beginning because after a few months, the tests were there but no-one updated them, so all of them were obsolete. If you want to do a good application, please use this file, you’re going to love it when you have to check the tickets or issues of the WebService.
And with all of that, I think we’re done here.