Let’s go with another installation. I’m not really sure about installing GitLab on my server, but I have been thinking a lot about it. I had installed Git which I like, but I tried one years ago and I like it but I haven’t installed it on my server.
GitLab is a really good tool. You can have it installed on your server and you can create different teams and just developers. I really like the teams thing because you can create the teams and you can create a project for the teams and you can create roles for each person of the team. I think is excellent. Installation
Firstly, we need you to install the dependencies.
# apt install -y curl openssh-server ca-certificates
There are a lot of people who install the postfix because they want email notifications. So if you want to use another solution to send emails please skip this step and configure an external SMTP server after GitLab has been installed.
# apt install -y postfix
After installing all of it, you must add the respositories of GitLab. For that, you need to run the next command:
# curl -sS https://packages.gitlab.com/install/repositories/gitlab/gitlab-ce/script.deb.sh | bash
Now you need to install it so… there are two different installations the Community Edition or Enterprise Edition. With the Enterprise Edition you have a trial of 30 days and then you have to pay for each user, but you can use mysql with it and there are more functionabilities. The free one is the community, which is the one I have. If you check the installation process on GitLab they are going to tell you to set an External URL as constant, if you want I have one similar to ‘http://myFox.jorgeancal.com’. But if you have in your local, you don’t need it but I drop the command here too.
# EXTERNAL_URL="http://gitlab.example.com"

# apt install gitlab-ce
Let’s go now with a simple comfiguration which is setting the admin password and login. I’ll do another post speaking more about how to configure and everything. I’m going to do like a quick introducction about commands and setting the root password. Well, the first thing you have to know is the command of how to generate the configuration again.
# gitlab-ctl reconfigure
Another interesting command is the one which allows you to run and stop the GitLab.
# gitlab-ctl start

# gitlab-ctl stop
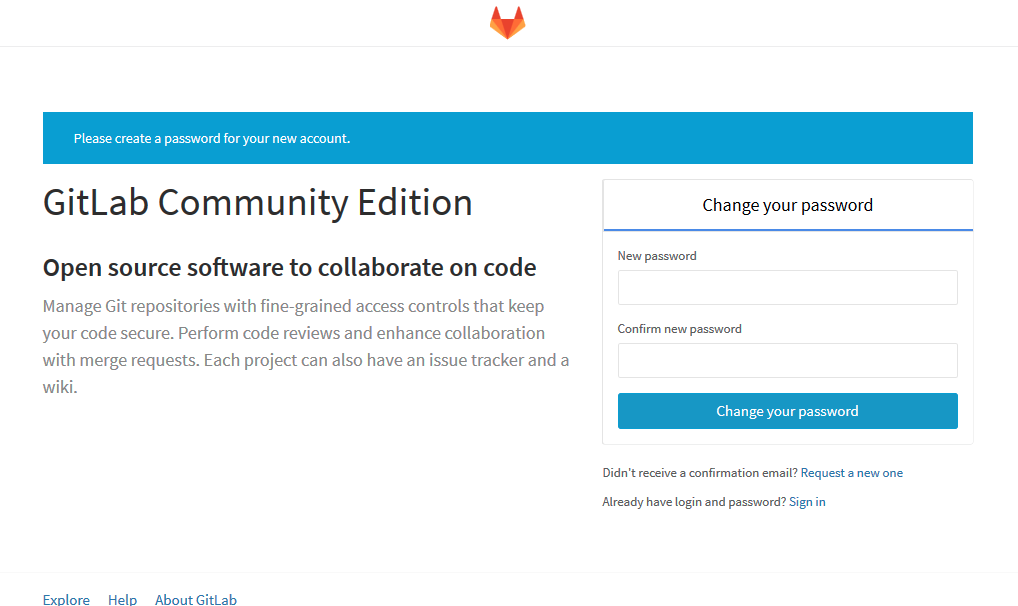
Now we’re going to set the password. Open in your browser the URL which you have, or if you didn’t set a URL, just write your IP in the browser.
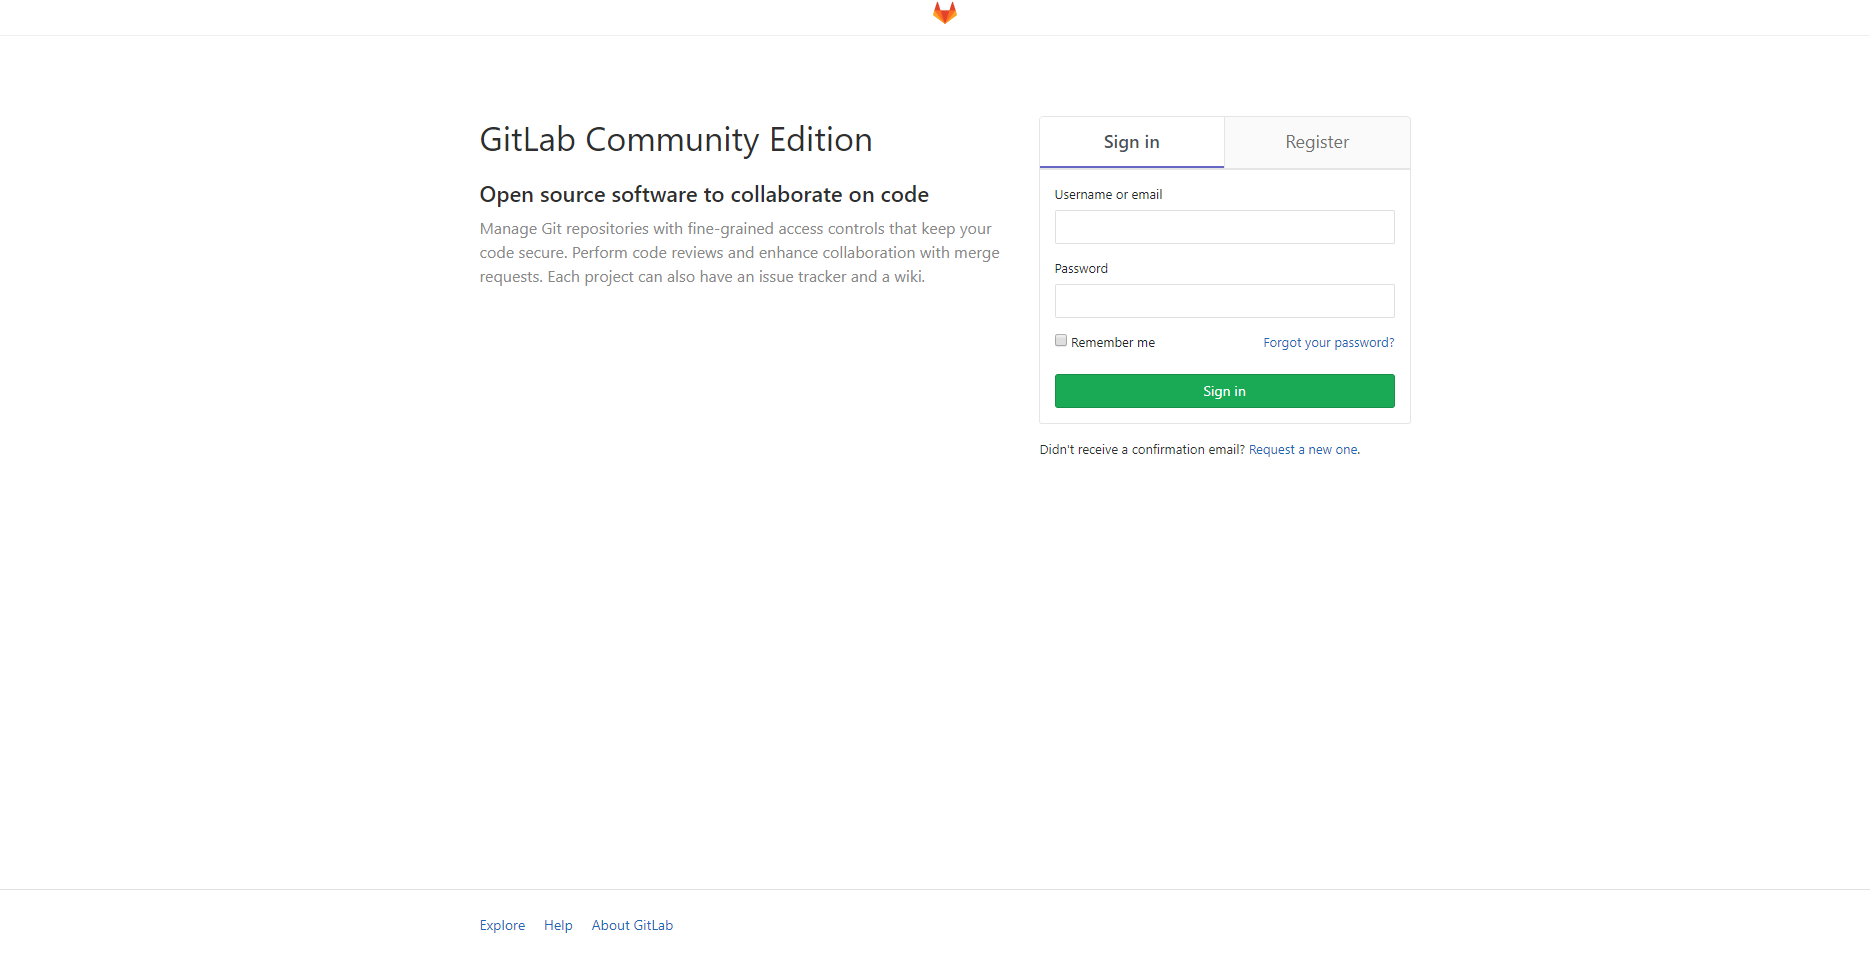
After that, you’ll have the log in screen. The admin user is “root” and the password is the password which you set up before.
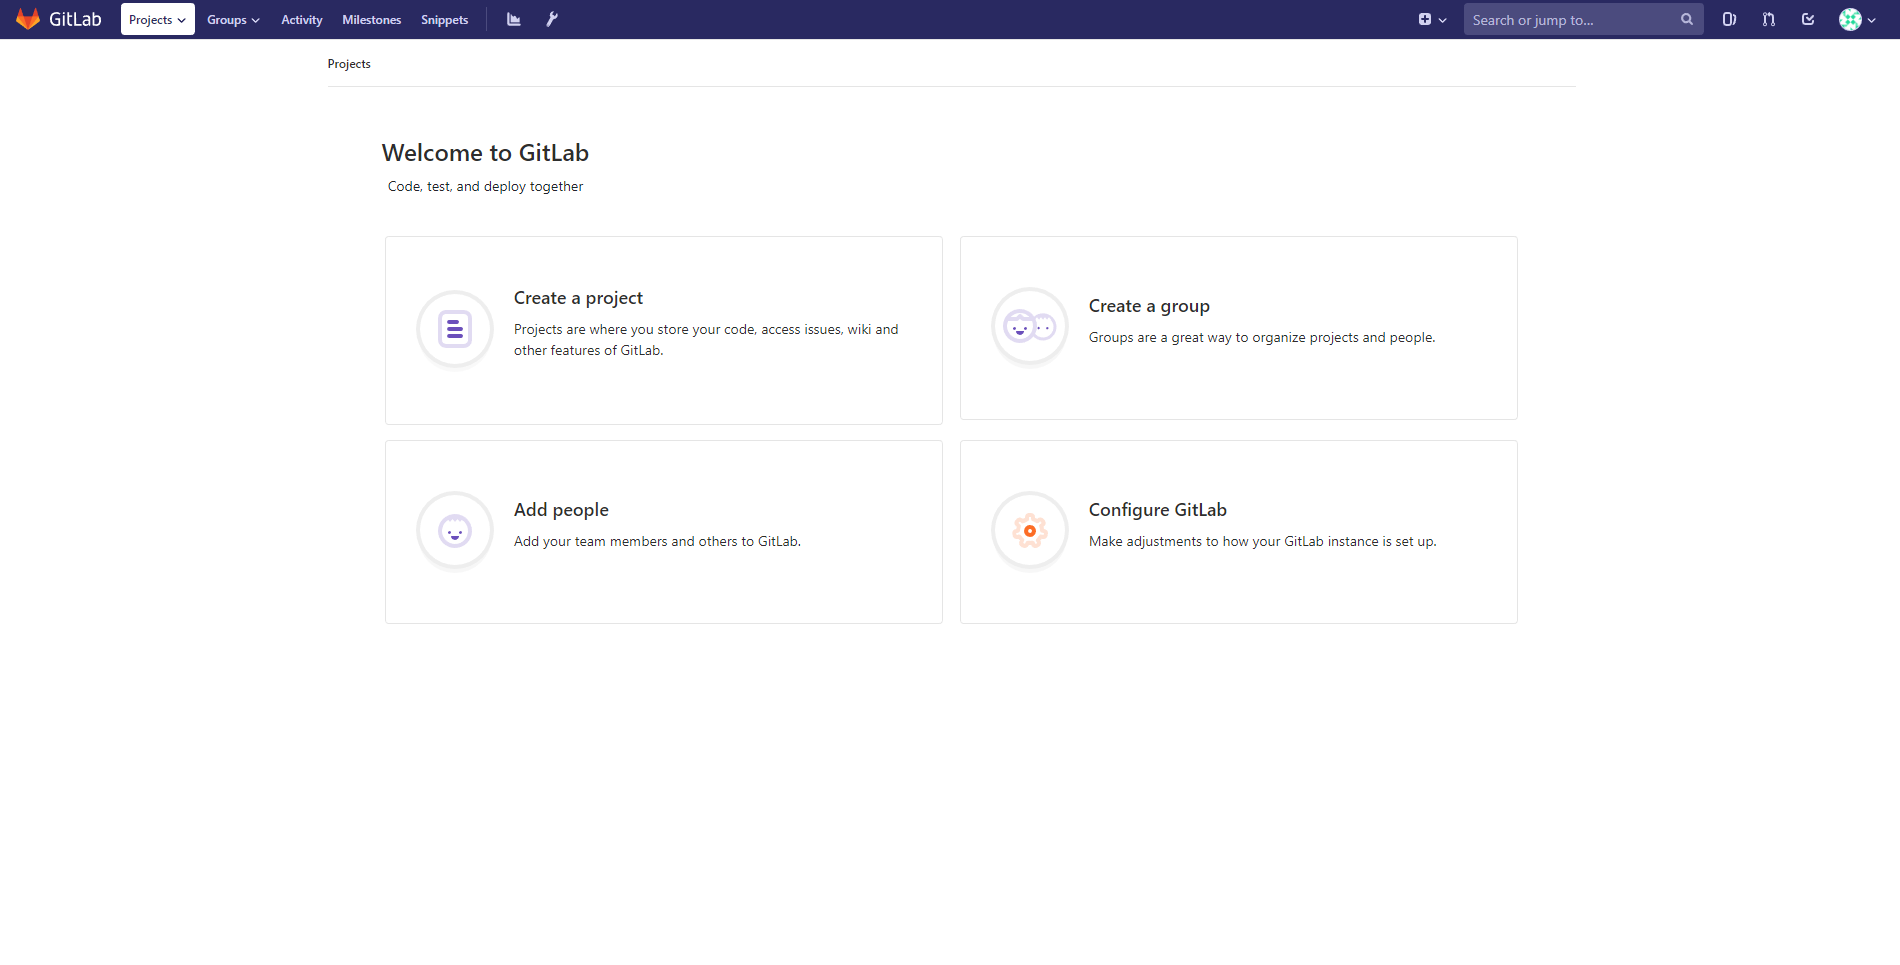
When you log in you’ll see something like this, and you can start with your projects! Enjoy!